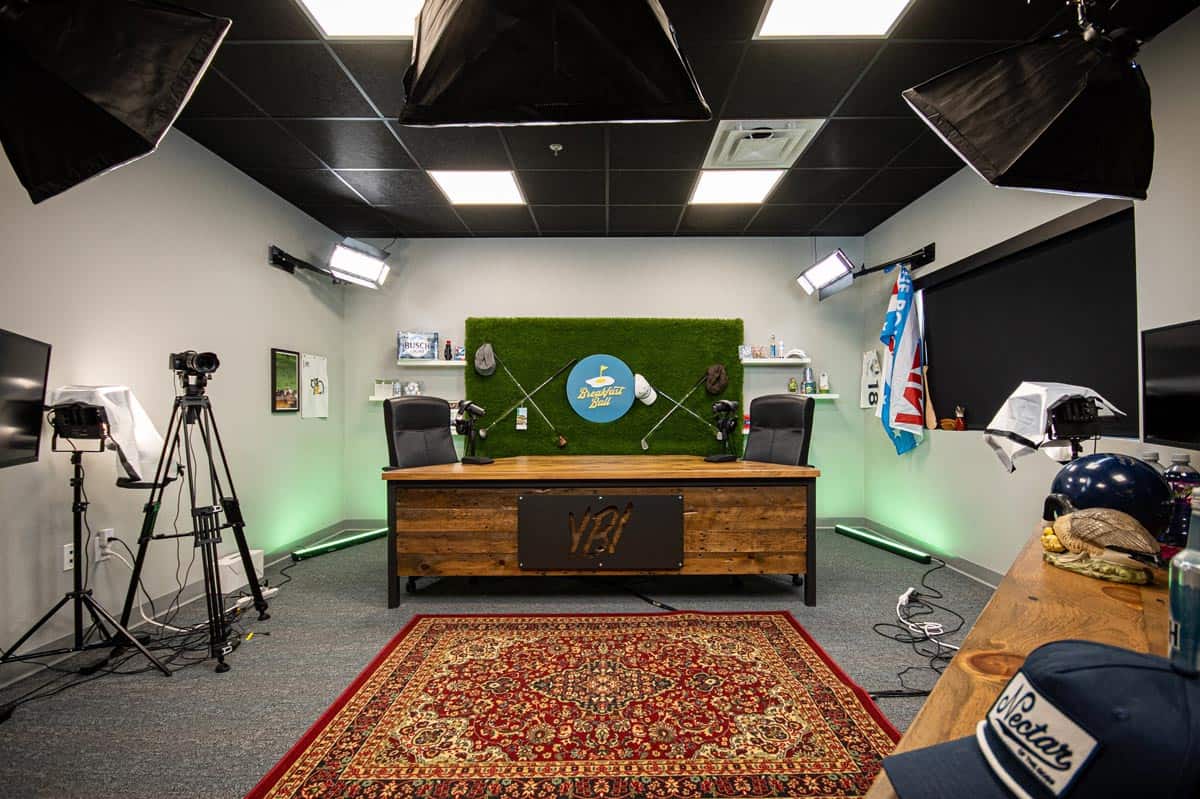
Podcast & Media Desks
It goes without saying that every podcast is different and therefore every podcast desk has different advantages and disadvantages for every situation. Depending on the

Yep. That’s me, age 12. Looking back I would say it’s definitely not my proudest moment and yet, the bleached blonde hair was arguably not my worst look over the years. It could have been the reassurances from my mother who said it reminded her of my curly blonde hair when I was two, or it could have been that the bleach fried the brain cells that control self awareness, but I actually remember thinking I looked pretty cool and maybe even a bit like the soccer star Pavel Nedved. I was wrong.
Our formative years are often plagued with poor style decisions and embarrassing moments, however I’m not sure what Grant’s excuse was this year…

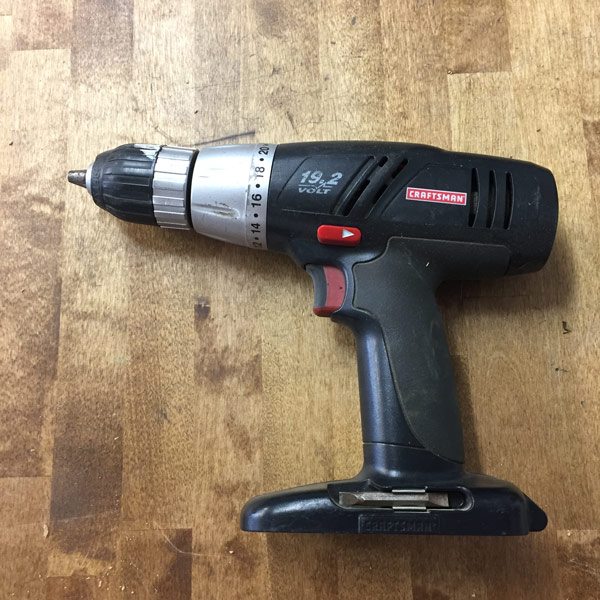
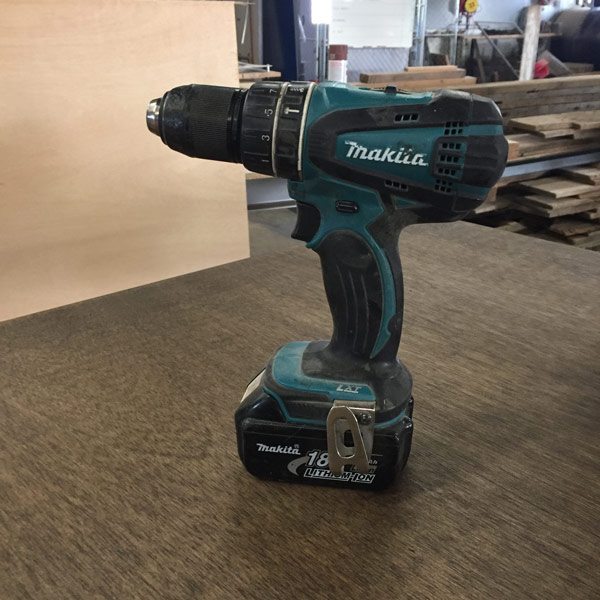
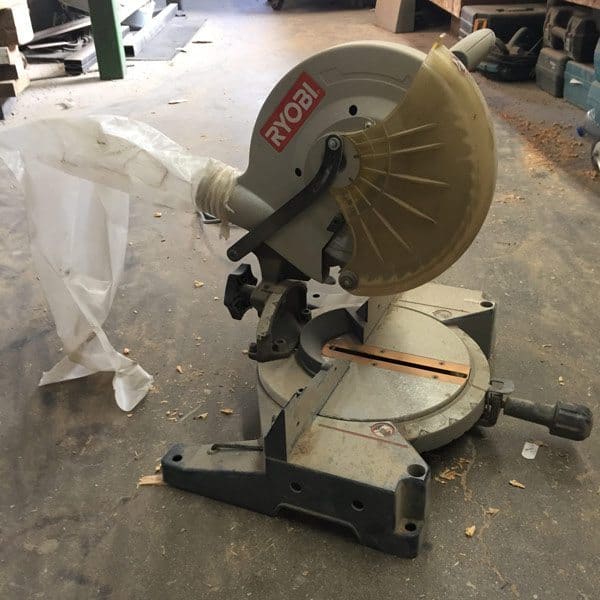
What I guess I’m trying to get at is that we all have those moments, (Grant and I probably more often than others) where we look back and wonder “how did this happen” or maybe more of a “what was I thinking”. Recently while reminiscing on the origin of Grain Designs, we had a discussion on “how the hell we managed to build quality furniture starting out with the tools that we did?!” Every tool we had was borrowed, outdated, and far too small for the projects we were working on. But somehow we got projects done, began to make a few bucks, and as soon as possible, updated our tool inventory. A task, I might add, that is ever changing and never complete. (Especially when Grant and Blain are flipping through the pages of the Festool catalog every month). There are so many possible options for tools and especially when you are starting out as a DIY’er, it is difficult to know what to invest your money on and what tools you might need, so I have compiled a list of the first 5 tools I recommend having in your shop/garage/home. Similar to the bleached hair progression, each tool recommendation has a photo of where we started compared to what we use now.
Without a doubt this is one of the most necessary tools you can have. Nearly every project involves a drill and it is especially versatile as you can use it to both drill holes and screw fasteners. Every brand has their own size, shape, color, etc. so I would recommend going to your local hardware store and testing them out for yourself before buying.
A chop saw is again one of the first things you’re going to need to work on almost every furniture project. This cuts the length of every piece of wood to an exact measurement. Yes, you might be able to get by using a handheld circular saw, but if you want any accuracy or consistency, the chop saw is key. Determining which chop saw to purchase is essentially based on the size of the pieces of wood you want to cut. Most often a 10” is sufficient, but in my experience, the bigger, the better.
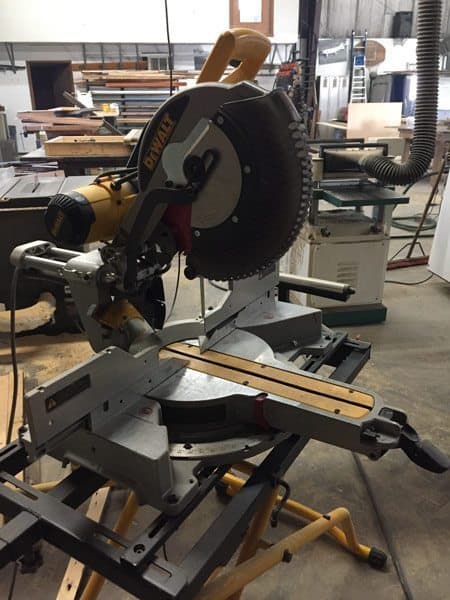

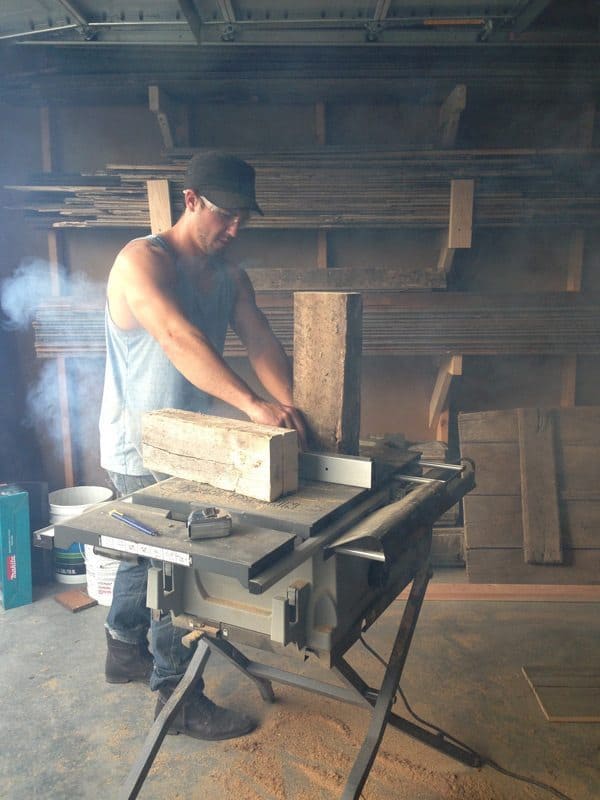
The table saw is used to cut the width of your material and is equally as important as the chop saw. This is also most likely going to be your biggest purchase. I have used just about every style and size of table saw that there is, and again, more table surface area and more power makes everything easier. Unless you have a large shop, I would suggest getting a contractor unit which is collapsible, and portable.

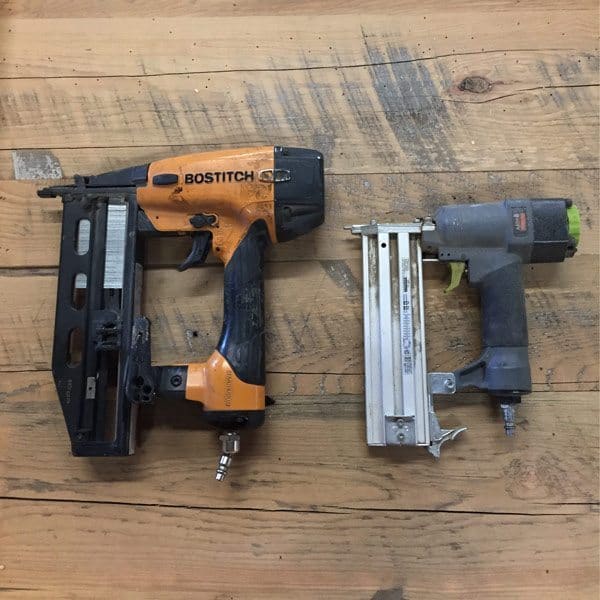
A brad nailer is essentially a nail gun that shoots very thin nails. They come in any length under 2” and are typically about the thickness of a paper clip. Brad nailers can be used in many different applications, such as trim work, or smaller projects where you don’t want to have large screws or nails showing, or maybe there simply isn’t any other way to attach boards together. Using glue and a few brad nails is a very easy, surprisingly strong, and cost effective way to fasten boards together. Brad nailers are powered either by battery or through an air compressor. Both work great, but in terms of portability and the additional cost of having to buy a compressor, I would go with the battery powered. Both nailers in the photo are air compressor powered but we have had great luck with our battery powered unit; the portability is a huge benefit.
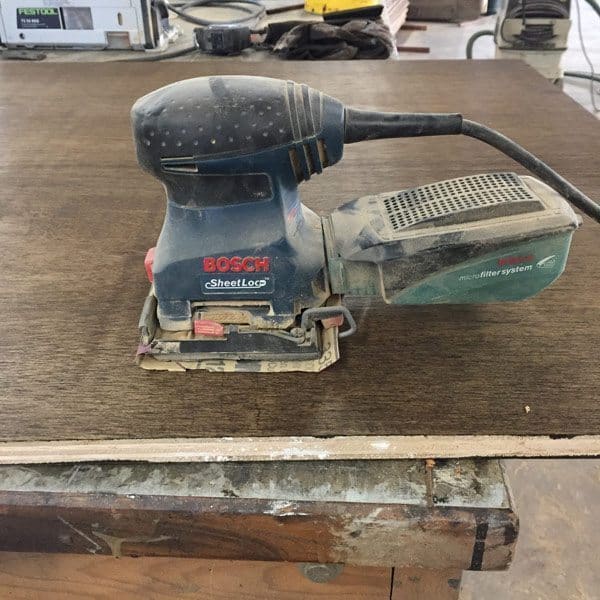
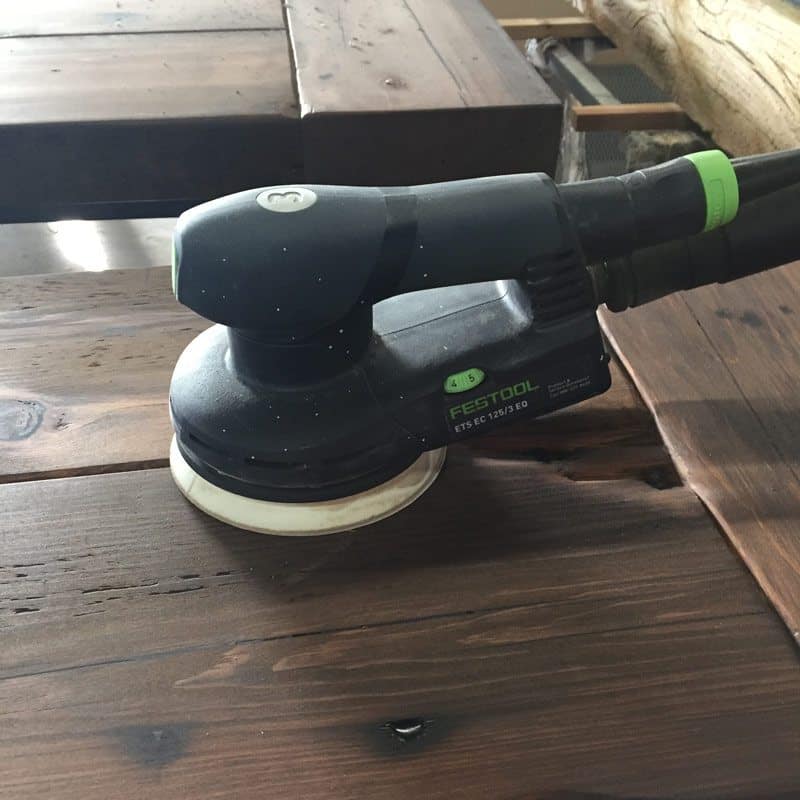
Of all these tools that I have discussed, the sander is where I have noticed the biggest change in quality from a cheap one to an expensive one. Sanding can be extremely mind-numbing, time consuming, and ultimately frustrating, and for that reason I would say this is the most important tool to upgrade in your inventory. A random orbital sander is what I would suggest as it has the versatility to both take off a good amount of wood, while also not gouging or leaving swirl marks. If it is in your budget, get one that attaches to a vacuum so that it doesn’t create a large amount of dust.
I’d like to note that I realize for most DIYer’s this is mainly a hobby or a way to save money rather than spend money and it can be difficult to spend a large amount on tools. Create a budget, be patient, and shop around. A good quality brand item that is used is often times better than a poorer quality tool that is new. In our experience, the old adage “you get what you pay for” holds true with tools. I didn’t go into any specifics on what brands we use or amounts to spend on tools, but if you have specific questions, feel free to reach out; we’d be happy to help.
It goes without saying that every podcast is different and therefore every podcast desk has different advantages and disadvantages for every situation. Depending on the
GET FURNITURE QUOTE SCHEDULE A CONSULT Every business small or large has one thing in common and that is the need to be on the

GET FURNITURE QUOTE SCHEDULE A CONSULT The modern workplace is ever evolving and part of that evolution is the need for a healthier lifestyle in

GET FURNITURE QUOTE SCHEDULE A CONSULT The modern workplace has undergone a massive change over the last several years. With work from home becoming increasingly
