How to Choose the Best Wood Finish for Your Project
At Grain Designs, we get asked a variety of questions from other individuals looking to tackle their own projects. One of the most frequently asked questions is; what finish should I use, or what is the best wood finish to preserve my wood? Being that I handle the vast majority of the finishing tasks at Grain Designs I thought that DIYers tackling their own projects may find value in ‘A Guide to Wood Finishing Basics‘. Understanding the different options available and the pros and cons of each will help you narrow your options for a quality wood finish.
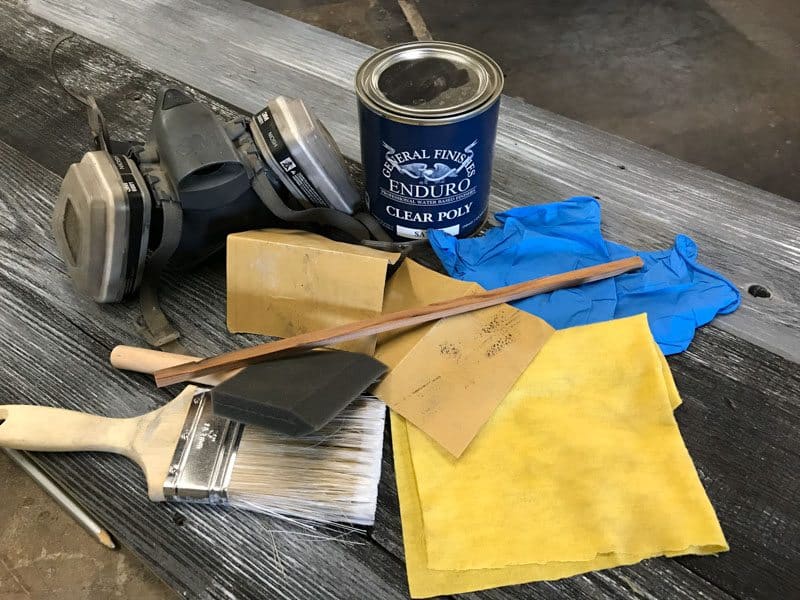
There are a lot of different variables to consider which makes finishing seem like a daunting task such as: type of wood, desired finish, interior/exterior, method of application, and the 1000s of products to choose from. Aside from understanding how each product varies, the best way to narrow your finish options is to try different products and test different methods. Since each product and project is a bit different, you’ll notice improvements and learn more with each project through your own trial and error experiences. In order jump start the process, I’ve outlined your finishing “starter kit”:
-Nitrile Glove & Mask
-320 G Sandpaper – for surface prep and sanding between coats
-Foam Brush or Quality Paint Brush
-Stir Stick
-Tack Cloth or Similar Dust Cloth
-Water-based General Finishes Polyurethane
When looking at the best wood finish for your project, there are a few quality considerations that we commonly cover when discussing options with clients. Those qualities are:
Durability – How easily will the finish scratch and will it hold up to spilled liquids?
Aesthetics – What will the finish look like? Will it change the color of the wood? Will it have a high sheen or a matte finish? Will the final product be smooth? or Will the finish change color over time?
Reparability – If the inevitable happens and the finish does get scratched, how easy is it to fix? Will I need to refinish my entire table?
Workability – How easy is the finish to apply? What type of equipment does this require?
Keep in mind, there are several different finishes on the market and I have only had the opportunity to use a handful of them, so this wood finishing guide is going to cover a few broad products categories, each covering a different range of the qualities above.
Wax
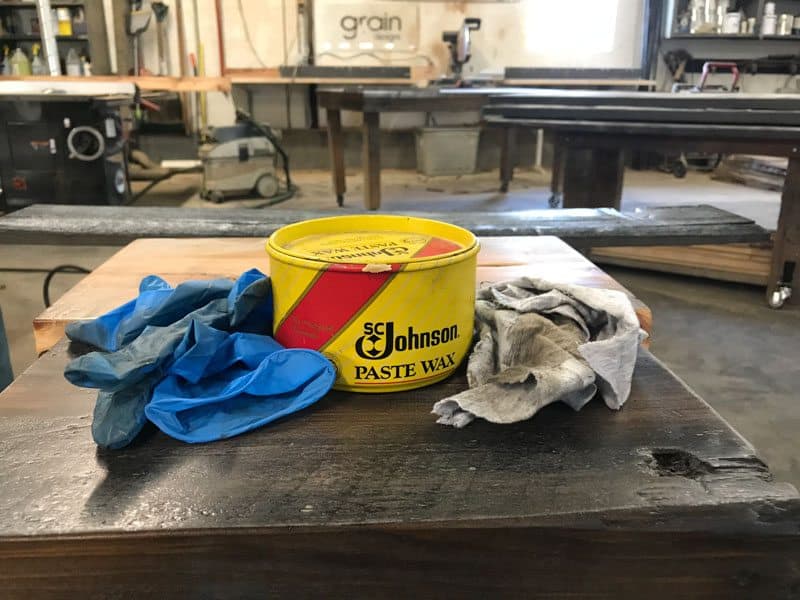
Wax is a great option for because it is one of the easiest products to use and also works great when you want to maintain an original wood look. With wax, you’re is able to provide a level of protection with very little change in color and little to no sheen. Perhaps the best quality of wax is how easy it is to maintain and repair. Wax can be reapplied whenever a scratch occurs and should be reapplied a couple of times a year to maintain a level of protection and also to help hydrate the wood.
I liken this wood finish to the treatment of leather; some care is required if you want it to last. The downside to wax is that it is one of the least durable finishes you can use. Wax typically doesn’t get very hard so scratching can be tough to prevent and it doesn’t have high water resistance or protective qualities. In terms of application, it is very easy to work with, simply use a rag or a foam brush and apply liberally to the wood surface. Any excess wax can be wiped & buffed away later. Although most wax products are odorless and non-toxic, I always recommend taking precautions such as wearing gloves and a mask.
Epoxy
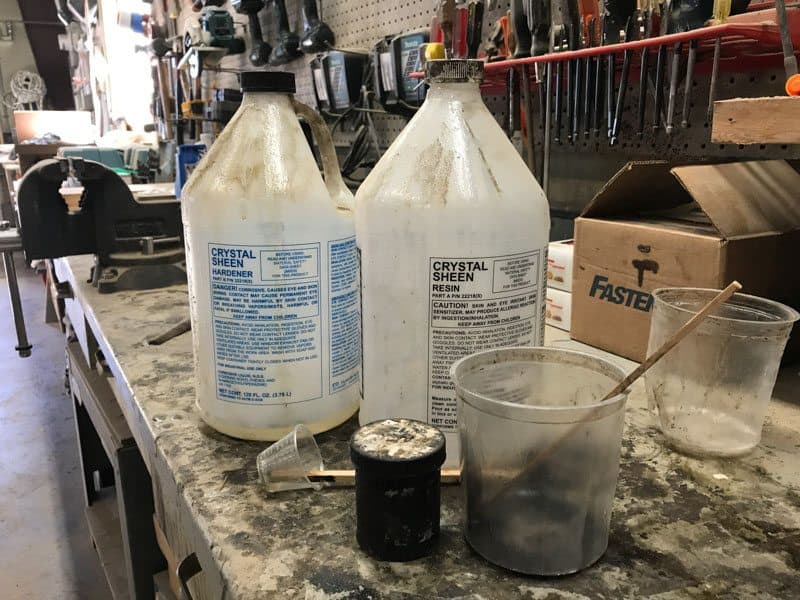
Epoxy (often referred to as bar pour) is commonly used as a topcoat to finish tables and bar tops, especially in commercial applications. Unlike wax, epoxy finishes are very durable. Grain Designs uses and recommends EcoPoxy. We are a distributor of Eco Poxy’s premium quality, eco friendly epoxy coatings.
Epoxy is one of, if not the most durable finishes that you can use as a wood sealer. It can hold up to not only kids, but unruly adults as well, which is often no easy task. Epoxy is extremely scratch resistant and liquid resistant making it one of the best options for bars and restaurant tables. The down sides of epoxy are that it typically has a high gloss appearance and is prone to discoloration over time. If the epoxy does get damaged, it can be tricky to fix without being noticeable.
Lastly, for DIYers it can be difficult to work with. Epoxy requires relatively precise mixing and if it is not done properly a person can end up with a finish that refuses to harden and there are few options for starting over. Also since epoxy is typically poured as a self leveling horizontal coating, it can make any vertical application difficult and it will be tough to avoid drippage. Another fallback epoxy can be air bubbles, which will result in an uneven finish. There are many tips and trick for perfecting epoxy pours, but I’m not the guy to offer that expertise. Youtube would be a great resource or again, trial and error will perfect your topcoat.
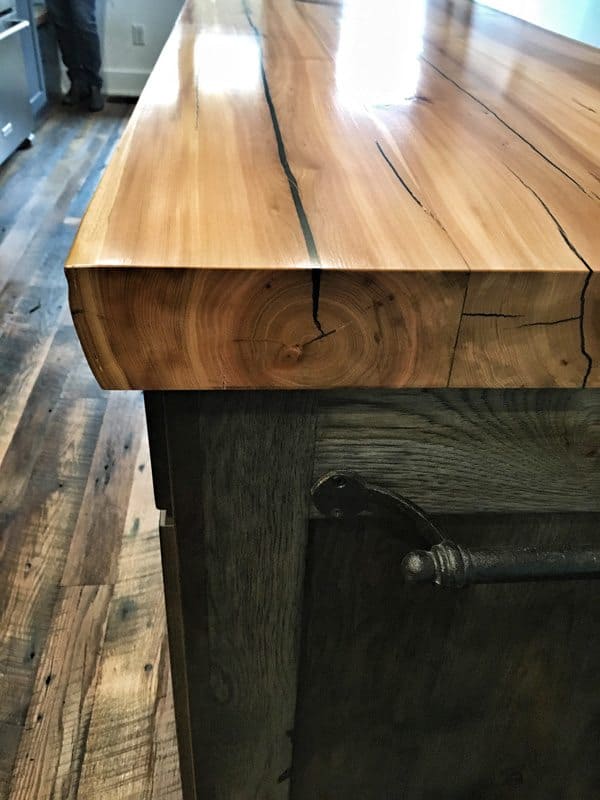
At Grain Designs, we don’t frequently use epoxy as a final seal coat but instead for troublesome cracks or holes in our reclaimed wood. The primary reason we avoid epoxy as a top coat is simply for aesthetics. We prefer to maintain as much of the original wood character as possible and the high gloss, plasticly look that occurs with epoxy finishes doesn’t meet our desired look. With that being said, I have seen epoxy done well and it has many benefits that could make it the right choice for your project. As a safety note: make sure to use gloves and a respirator in order to avoid skin contact and the inhalation of toxic fumes.
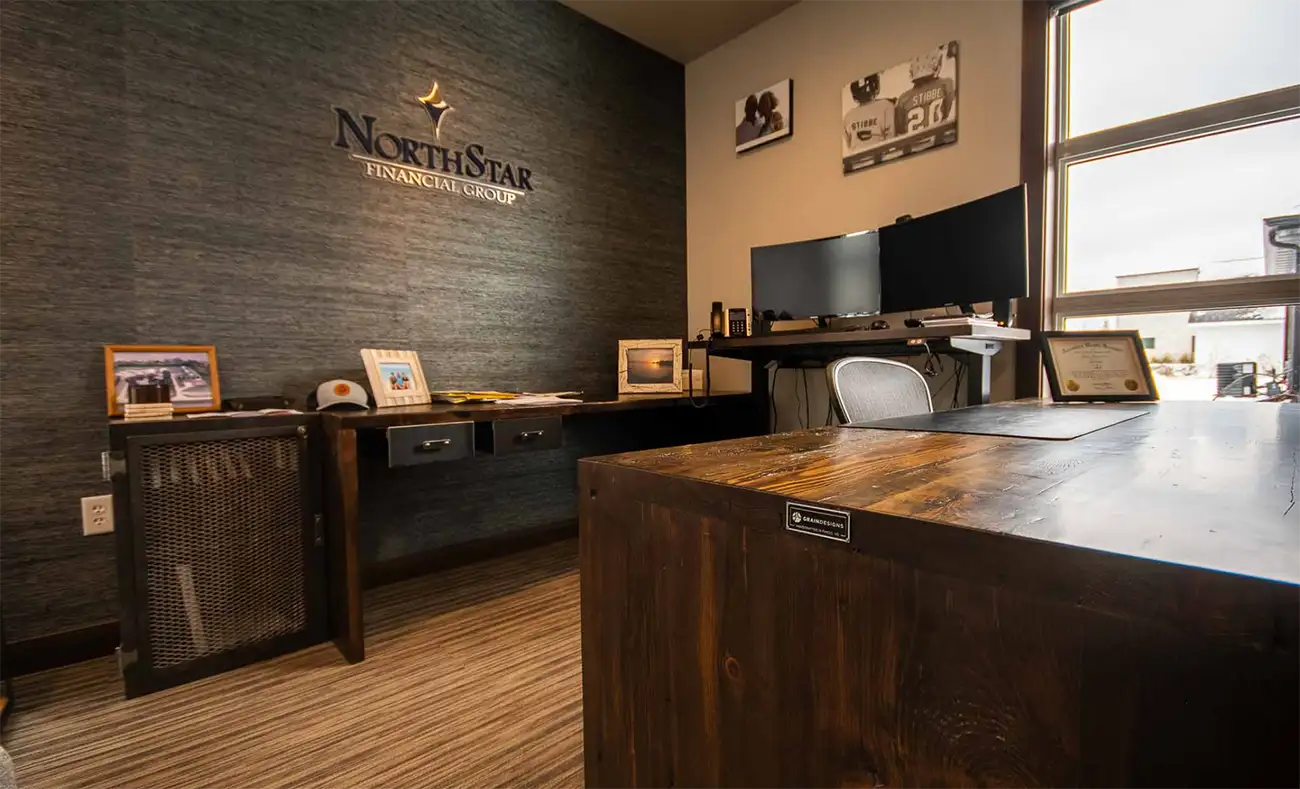
Below is a sample photo of a custom island we built. We used tinted epoxy to fill the cracks and checks then sanded and finished the top with a commercial semi-gloss polyurethane.
 Polyurethane
 Polyurethane
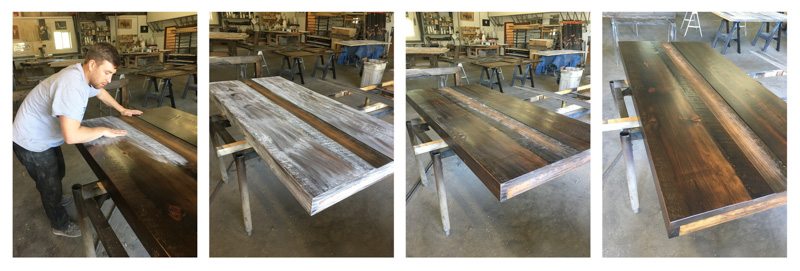
Finally, Polyurethane. Polyurethane is what we use most often at Grain Designs. Polys allow for a nice combination of Aesthetics, Durability, Reparability and Workability. There are a wide variety of Poly’s available to use. Some come ready to brush, wipe, or even spray while others require the mixing in of a hardener (catalyst) in order to initiate the curing process. Polys can be either water or oil based. Oil based poly’s are usually a bit more durable than water based but they also usually contain harsher chemicals and clean-up is more difficult. In general polys offer good durability; they are not as tough as epoxy but they are far more durable than any wax. Aesthetically, poly’s are perhaps the most versatile as they can be matte, glossy, or anywhere in between.
One rule of thumb is that the higher the sheen, the higher the durability. Matte polyurethanes will provide a level of protection yet allow the wood to look the most natural. In lower sheen polys additives are used to dull the finish that can reduce its protective qualities causing the finish to mar more easily than higher sheens. Repairability varies greatly with poly depending on the severity of the damage. If there is a surface scratch, a light sanding of the finish with high grit 320 sandpaper and then applying another coat can remove the scratch. Unfortunately, if there is a scratch that has gone too deep, repair can be a real pain, as you would need to sand down the entire surface past the point of the scratch to remove it.
Finally, polyurethanes offer vast flexibility in regards to workability. There are plenty of polys that don’t require a catalyst and are ready to go out of the can. Poly will yield the best results when it is sprayed but many products are available that can simply be wiped on or applied with a brush. For a smooth finish allow the poly to dry and then lightly sand with a high grit (320) sandpaper between coats. After sanding clean off any dust you have created and apply another coat. You can repeat those steps as many times as you find necessary but most polys require 2 or 3 coats. When using poly, it is important to wear gloves and a respirator and apply the product in a well ventilated area.
Again, this is simply ‘starter guide’ to help you select which finish product will provide you with the best wood finish for your project. Once you’ve narrowed down the desired look or finish you want, you’ll have many options in each category. The common adage “you get what you pay for” is a great rule of thumb which in my experience also applies to finishes. Hopefully this has given you a little insight into wood finishes and can help you determine the best solution for your project. If you give any of these a try at home be sure to tell us about it either in the comments, on Facebook or via email.
Until then, happy finishing!